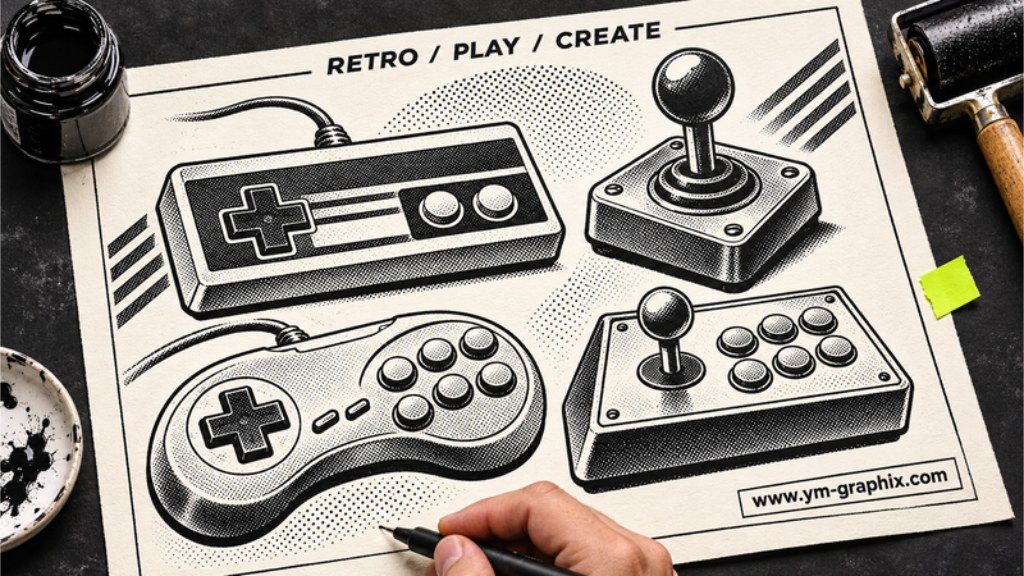
Old-school controls. A fresh creative direction.
Retro gaming controller art uses the shapes of joysticks, gamepads and arcade controls as illustrations, silhouettes or pixel-style graphics. To create a strong design, choose a clear device outline, simplify its buttons, and build contrast through black ink, white space and a deliberate arrangement.
A square joystick base, a cross-shaped directional pad, a row of round buttons: a few recognizable details can give an illustration an old-school gaming mood. The interesting part is deciding what to keep, what to simplify and how to make those shapes work together.
This workshop brings together drawing ideas, four project directions and seven selected Creative Fabrica resources. Start with the visual style you like, then choose a file set that fits what you want to make: a monochrome print, a small sticker collection, a notebook cover or an arcade-inspired graphic.
Disclosure: This article contains affiliate links. If you purchase through them, we may earn a commission at no extra cost to you. Featured products are digital downloads. Check the current listing for access options, included files and software requirements.
Quick Picks: find your starting point
A collection of controller silhouettes →
Black-and-white retro-tech line art →
Clean icons with a color accent →
An arcade-inspired pixel direction →
Choose the kind of retro controller illustration you want to make
“Retro” can describe several different graphic treatments. Choose the visual language before collecting files: it will make the final print or collage easier to hold together. You can mix devices from different eras while keeping the drawing style consistent.
Black-and-white line art: let the details do the work
Line art is a good direction when you enjoy the small differences between controllers: the curve of a grip, the position of a stick, the gap between buttons. Draw the outside shape clearly, then use lighter interior lines for the controls and surface details.
For a dense composition, overlap the bodies slightly while keeping the most useful identifying features visible. If every edge has the same weight and every surface is filled, the objects can merge into one dark patch. Preserve a little white space around buttons and directional pads.
Silhouettes: start with a shape you can read from a distance
A silhouette makes the outer contour the main event. Use a strong body shape, then add only the cutouts or white details needed to suggest the controls. This can suit small graphics, simple prints and layouts where you want the artwork to remain clear at a glance.
Test the shape at the size you intend to use. A controller that reads well across a monitor may lose its details as a small sticker. Simplify or enlarge the important features before adding more decoration.
Pixel-style graphics: build a more playful arcade rhythm
Pixel-style illustrations use a blockier visual vocabulary. Square corners, stepped diagonals and small repeated motifs can suggest an arcade-inspired scene without needing detailed shading. Keep the visual scale of those blocks consistent across the main subjects.
If you mix pixel-style art with smooth vector icons, give each a separate job. For example, one pixel joystick can lead the design while a plain text heading provides the supporting information. A little restraint gives the distinctive shape more room.
How to draw a simple game controller in five stages
Begin with a generic device rather than trying to fit every button from a specific controller into your first sketch. A simple gamepad gives you room to practice proportion, symmetry and line weight. You can develop a joystick variation after the basic arrangement feels balanced.
- Block in the body. Draw a wide rounded rectangle or a shallow shape with two grips. Keep the pencil marks light and establish the overall width before adding small details.
- Mark the center and control zones. Lightly divide the body into a left area, a center area and a right area. Leave enough room around each zone for the design to breathe.
- Add a directional pad and action buttons. Use a cross on one side and a small group of circles on the other. Check their sizes together so one side does not accidentally dominate.
- Choose a few secondary details. Add a pair of center buttons, a cable or a simple border around a control area. Stop when those details explain the object; additional marks should earn their place.
- Ink the contour and test the contrast. Give the outer edge a slightly stronger line, remove construction marks and decide which areas should stay white. View the drawing small before finalizing it.
For a joystick drawing, start with a square or gently rounded base. Add a short angled stem, a ball-shaped top and one or two action buttons. A small overlap between the stick and base helps the object feel assembled; a simple shadow can give it weight on the page.
When building a collection, sketch the biggest object first and place the others around it. Vary their angles, but repeat a few distances and line weights. A composition can feel lively without turning into an evenly spaced catalogue of objects.
7 retro gaming graphics to build your project around
These resources offer different starting points, from a single controller to a broader retro-tech set. Product previews below come from the actual listings. The project suggestions are ideas for using the graphics, rather than finished templates included with every download.
1. Game Controller Silhouettes Clipart
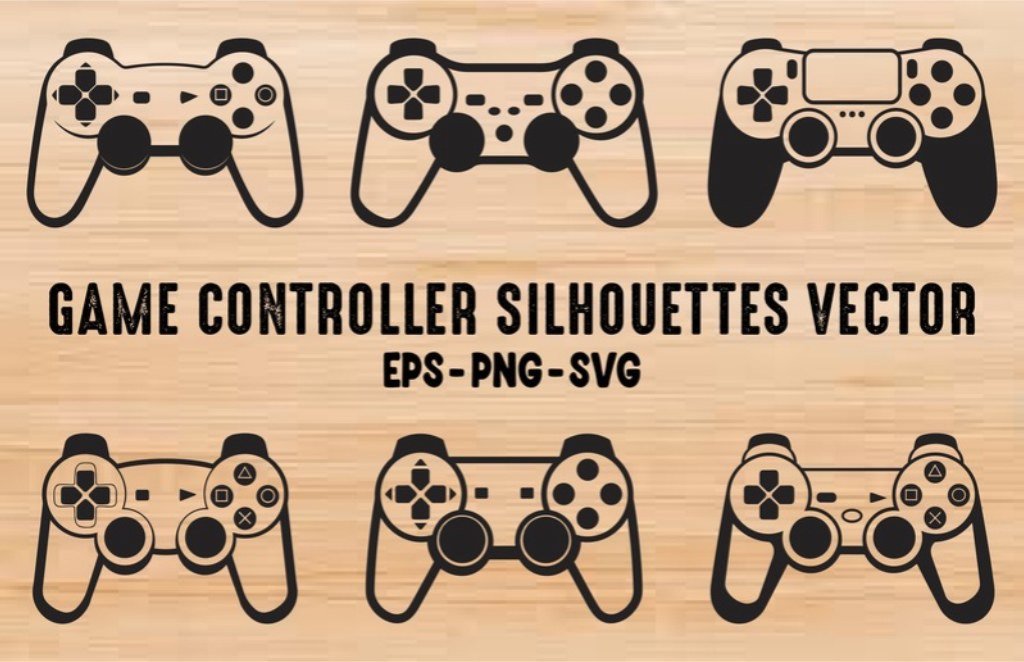
Designer: Gfx_Expert_Team
A collection gives you several shapes to arrange within one composition. Use a large controller as your focal point, then place smaller silhouettes around it with enough separation to keep each outline readable.
Try it: Try a two-column controller print or a row of small motifs on a notebook cover. Begin with one color and let size create the variation.
Listed files: 6 SVG files, 6 EPS vector files and 6 transparent-background PNG files; each design is saved separately.
Separate controller files make it easier to build your own layout.
2. Gamepad | Joystick | Console | Gaming
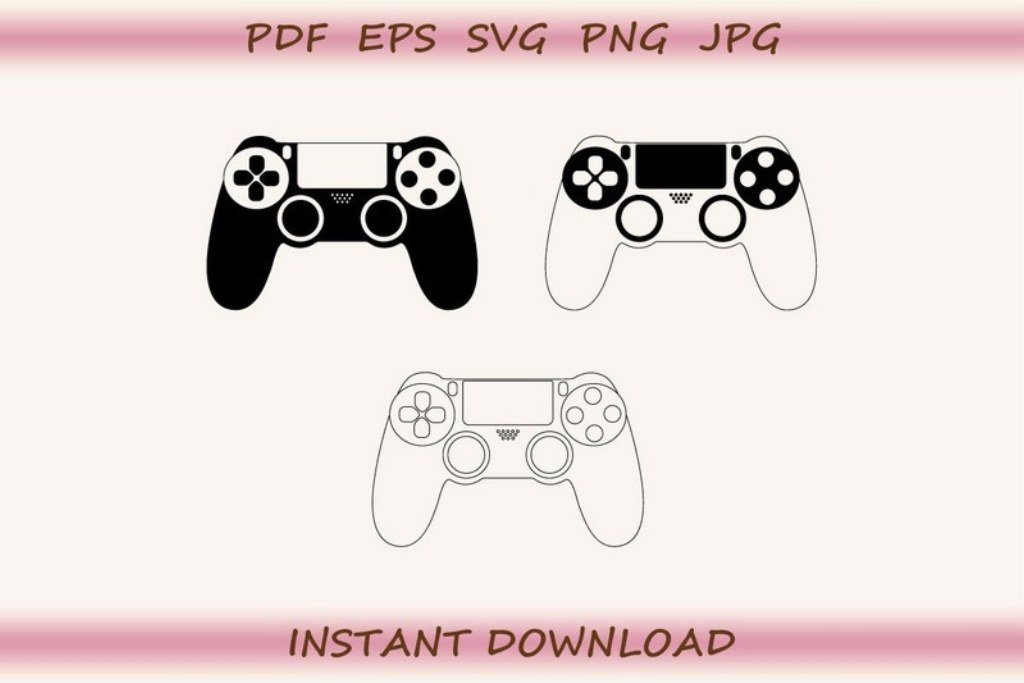
Designer: Digital Love
This is a smaller set for projects where a handful of coordinated designs is enough. It is useful when you want to explore a controller motif without opening a large bundle of unrelated graphics.
Try it: Choose one design for a card front, then repeat a small version on the envelope or reverse side. Let a short heading and the graphic share one clear focal area.
Listed files: 3 EPS, 3 SVG, 3 PNG, 3 DXF and 3 PDF files. The listing specifies 300 dpi PNG files with transparent backgrounds.
A small set with several file-format options.
3. Retro Tech Sticker Clipart Pack
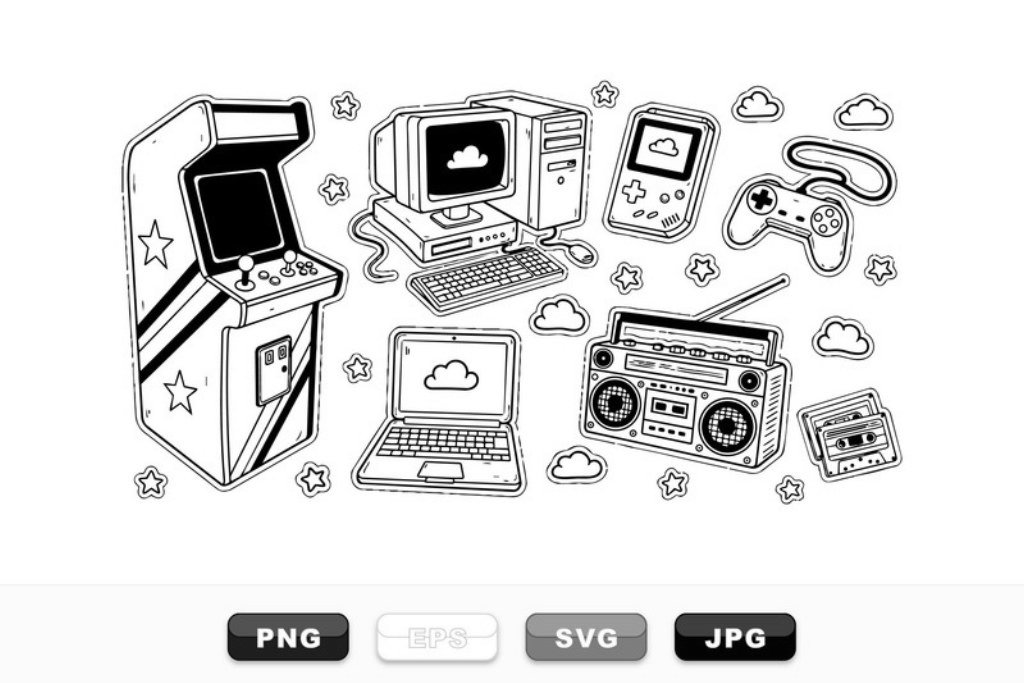
Designer: SVGdesigns
The listing describes black-and-white line art of gaming and music devices, including an arcade machine, handheld console, computers, a boombox and cassette tapes. This is the strongest thematic bridge between controller art and a wider retro-tech collage.
Try it: Build a small sticker-style collection around a handheld console, then add one music or computer motif. Repeating the same ink color keeps the different objects connected.
Listed files: SVG, EPS, JPG and PNG files in a downloadable ZIP.
A broader retro-tech direction for a monochrome collage.
4. Retro Game Controller Icon Set
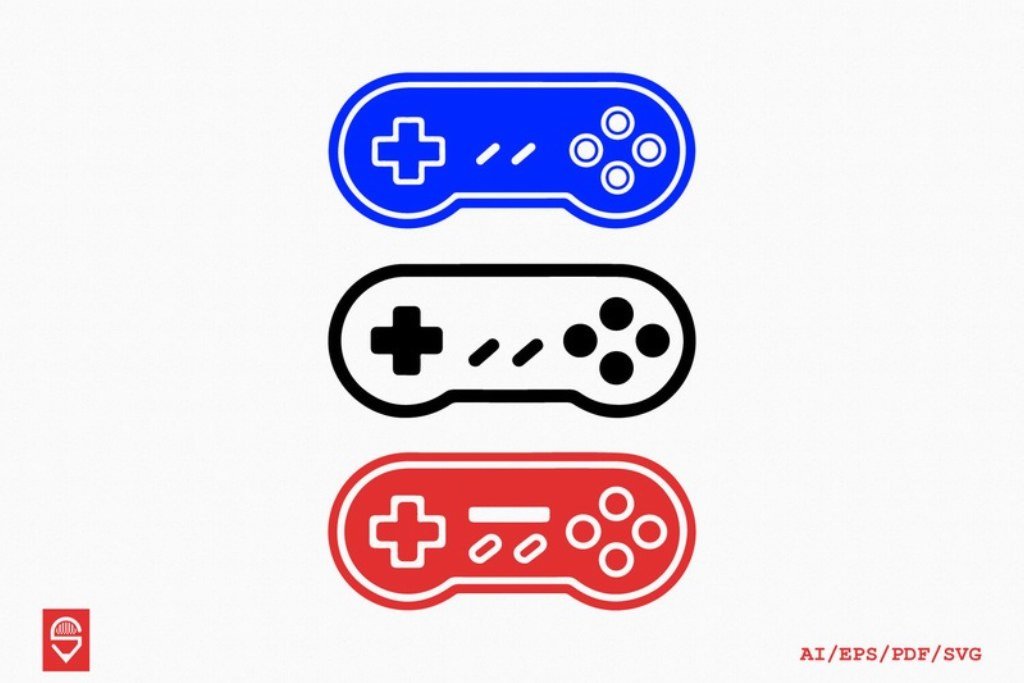
Designer: shaondesigns
These three vector controllers use blue, black and red, with directional pads and action buttons. They offer a cleaner icon-based alternative when a dense black-and-white collage would feel too busy.
Try it: Use one controller on a mostly neutral page, and echo one of its colors in a heading or thin rule. This is the color-accent option in the selection rather than a monochrome-only set.
Listed files: 3 designs; AI, EPS, PDF and SVG files.
Three vector icons with a blue, black and red palette.
5. Retro Game Controller – The Legend
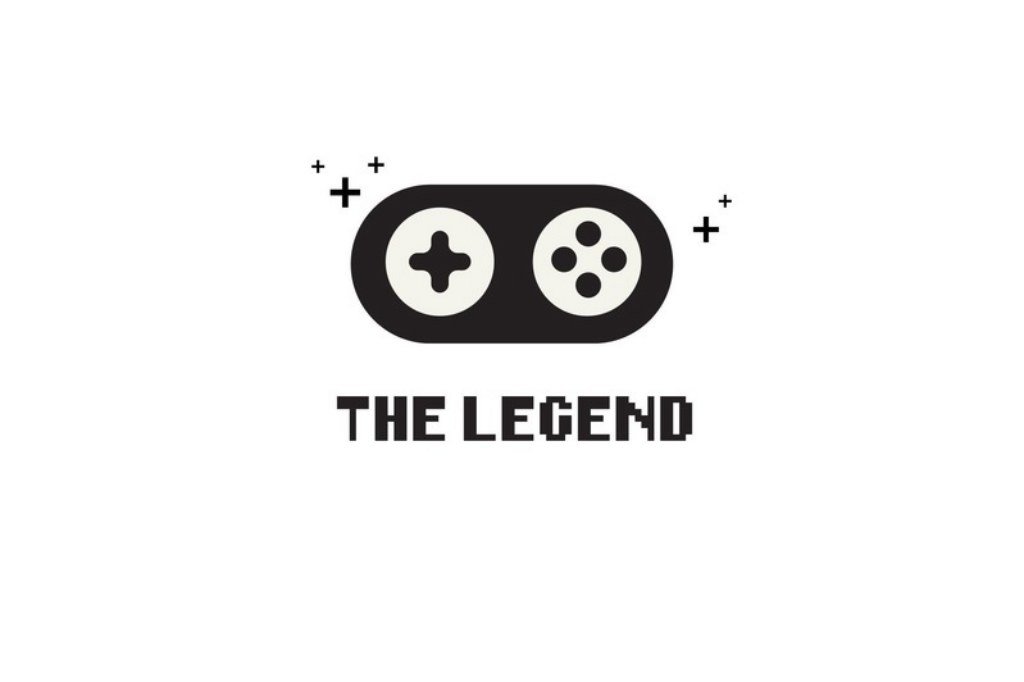
Designer: Creative Fabrica Crafts
A simplified gamepad sits above THE LEGEND wording, making this a ready-composed motif with its own message. Choose it when you want one clear graphic rather than a collection of separate devices.
Try it: Plan a simple card, print or garment composition around the design. Check the actual preview before adding your own wording so that the finished piece has one clear message.
Listed files: SVG, transparent PNG, EPS and DXF.
One focused design for a straightforward creative project.
6. Vintage Gaming Doodle Set
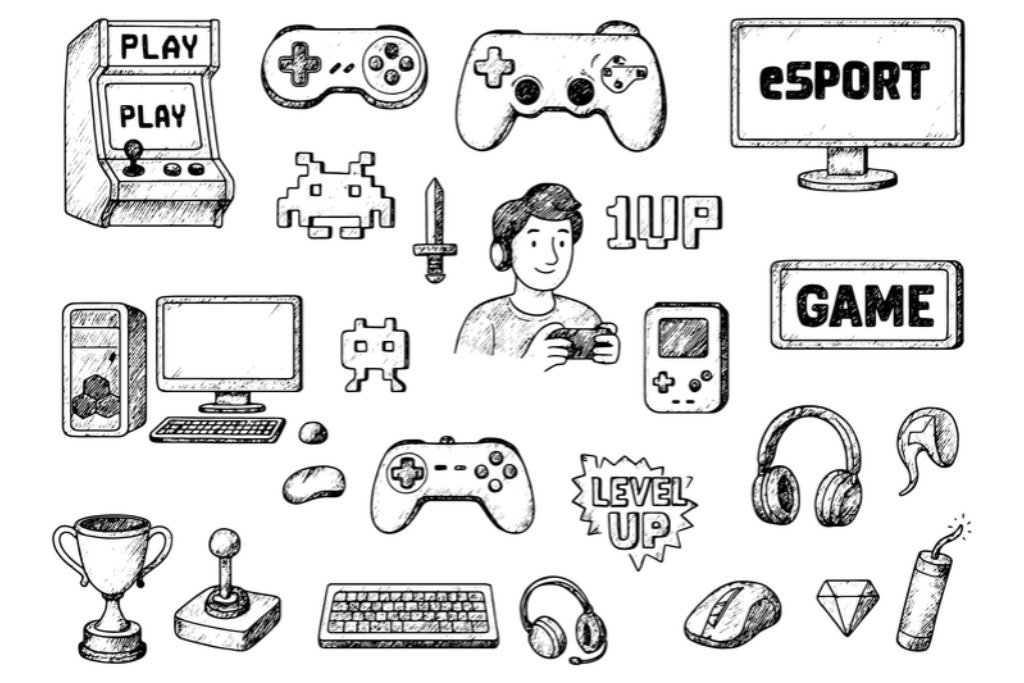
Designer: Tikara
This black-and-white collection has a loose, hatched drawing style. The preview brings together older-style controls, handheld gaming, an arcade machine and other gaming subjects, making it a particularly good fit for a sketch-inspired project.
Try it: Build a small illustrated poster around one joystick and two gamepads, then add a short original heading. Keep the hand-drawn marks visible and give the busier subjects a little extra space.
Listed content: Hand-drawn vintage engraving-style gaming illustrations, including controllers, a joystick, an arcade machine and supporting gaming elements. Check the listing for current downloadable file details.
A hand-drawn alternative to crisp silhouettes and smooth icons.
7. Retro Gaming Set Pixel Art Joystick Arca
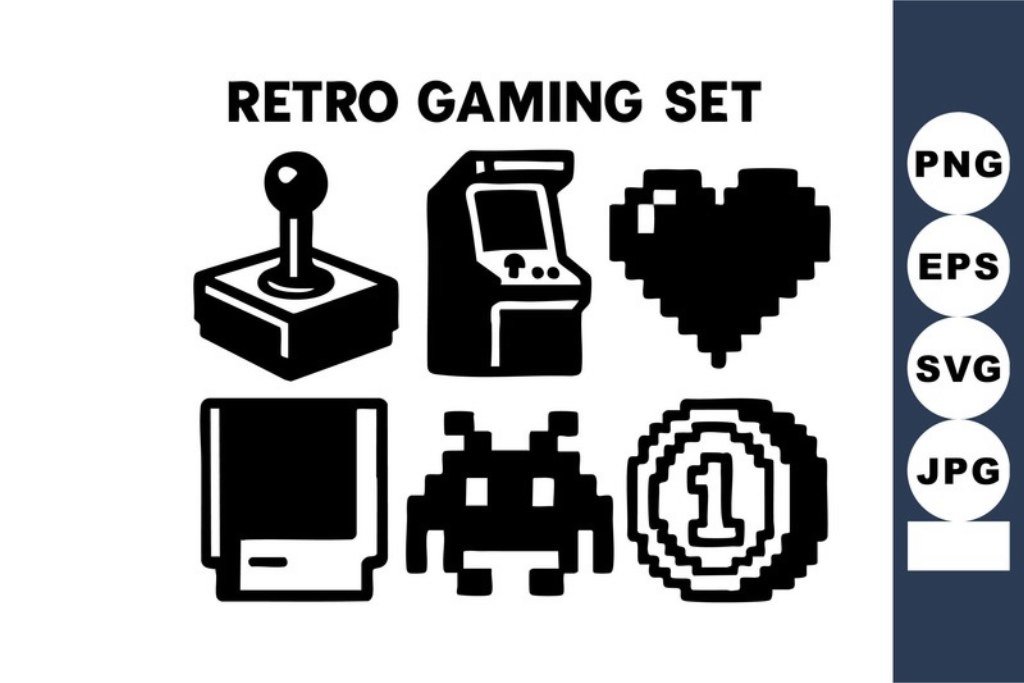
Designer: DesignVectx
The listing includes pixel-art gaming subjects such as a joystick, arcade machine, heart, cartridge, alien enemy and coin. It gives you a different visual language from curved controller outlines: blocky forms and an arcade-inspired rhythm.
Try it: Use one main joystick or arcade motif with a few small supporting elements. Keep the sizes and spacing deliberate so the layout reads as a composition rather than a scatter of icons.
Listed files: SVG, EPS, JPG and PNG files in a downloadable ZIP.
Pixel-style elements for an arcade-inspired creative project.
Didn't find what you were looking for?
Use the search below to explore more options on Creative Fabrica.
4 creative ways to use joystick and gamepad artwork
1. Build a black-and-white controller wall print
Choose one larger controller and arrange two or three smaller devices around it. Leave an outer margin so the collection has a clear boundary. A diagonal arrangement can feel more energetic than a perfect grid, while a repeated line weight keeps the subjects connected.
Print a small draft first. Look for places where a dark joystick base touches another dark object, or where small buttons vanish into the background. Adjust those gaps before producing the final version. A short original heading can complete the print without competing with the art.
2. Make a small set of gaming stickers
Choose a few motifs with a similar visual weight. Place each within a simple border or leave a clean margin around the artwork. Keep the smallest details bold enough for the intended sticker size, and test one design before arranging a full sheet.
Think of the collection as a small cast of characters: perhaps a rectangular gamepad, a joystick and an arcade machine. They do not all need the same outline, but repeating one ink color or border treatment will make the set feel intentional.
3. Design a gamer notebook or sketchbook cover
A cover gives you room to combine a large controller illustration with a title and a small personal detail. Place the main image slightly off center, then align the text to one of its edges. Keep important details away from the binding and any trim area specified by your chosen format.
For a more playful result, build a loose border from tiny arcade motifs and keep the center quieter. If you enjoy a broader retro-futuristic mood, our retro and futuristic robot clipart guide offers another set of subjects to explore in a separate design.
4. Create a simple game-night invitation or card
Use a controller as the main symbol, then give the practical information a clean space of its own. A bold heading, one short line of supporting copy and generous spacing will usually work harder than a page filled with decorative gaming references.
Try black artwork on a light background with one accent color. If you choose a multicolor controller, repeat only one of its colors in the text. For lettering with a stronger graphic personality, explore our urban graffiti font selection and test a short heading before committing to a decorative style.
Choose the file format that fits your project
Start with the job you need the file to do. A vector file, a transparent image and a print document solve different problems. The presence of several formats in a bundle is useful only when one of them fits your software and intended output.
- SVG: a vector option for scaling and working with shapes in compatible software. For cutting projects, check the actual paths and test the design at the intended size.
- EPS or AI: vector-oriented formats for supported design applications. Use them when you need to work with the artwork within a vector workflow.
- PNG: a raster image option; transparency is useful for placing a controller on a different background when the listing includes transparent files. Check pixel dimensions before enlarging.
- JPG: useful for image-based layouts when you do not need a transparent background. Look at the background and available resolution before placing it.
- PDF or DXF: use these when the listing and your application support the particular task you are planning. A format name alone does not tell you how a file is organized.
For any finished item you plan to sell or distribute, read the current product and license terms for that use. A digital graphic is a creative ingredient; check the listing rather than assuming that every bundle includes the same permissions or finished-product formats.
Retro gaming controller art: common questions
What is retro gaming controller art?
It is artwork built around the shapes and details of older-style gamepads, joysticks and arcade controls. Common treatments include black-and-white line drawings, silhouettes, simplified vector icons and pixel-style graphics.
How do I make a controller drawing feel retro?
Begin with simple device proportions, a clear directional pad or joystick, and a restrained button layout. Use the line weight, contrast and composition to establish the mood. A generic invented controller can suggest an old-school feel without needing a detailed replica.
What works best for black-and-white gaming art?
Choose strong outlines, readable control details and a clear balance of black and white areas. Keep small buttons visible and separate overlapping objects with enough contrast. Line-art collections and silhouette sets offer different ways to approach the same monochrome theme.
Can I use game controller clipart for stickers or posters?
You can plan those kinds of projects with suitable artwork, file dimensions and product permissions. Check the listing for the included formats and current terms, then test your design at the intended output size before producing the finished item.
Should I choose a controller SVG or PNG?
Choose a compatible SVG when you need a scalable vector workflow or access to shapes. Choose a PNG when your project needs an image file, especially when a transparent background is included. The best choice depends on your software and output size.
Can I combine joystick graphics with pixel-art elements?
Yes, as a design approach, but keep the composition focused. Let one main style lead, use a few supporting elements and repeat a limited palette. Check that the individual resources fit your intended project and their current terms.
Start with one controller and a clear idea
For a monochrome collection, begin with the controller silhouettes. If you want a wider world of nostalgic devices, explore the retro-tech line-art pack. For a playful arcade composition, the pixel-style gaming set offers a different starting point.
Choose the first project small enough to finish: one print, one card or one sticker. Give the main shape room, make the controls readable and let the contrast carry the atmosphere. The next creative level can begin with a single well-placed joystick.